
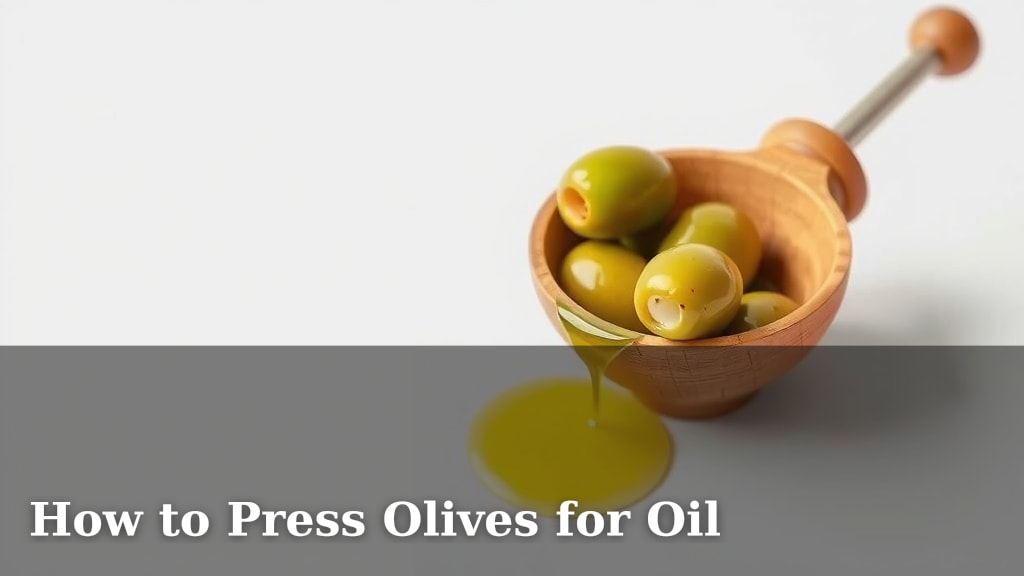
How to Press Olives for Oil
Making your own extra virgin olive oil at home is totally achievable. You can press olives into oil using a few different methods, from simple kitchen tools to more specialized equipment. The key is to crush the olives and then separate the oil from the solids and water.
While it might seem a bit old-fashioned, pressing olives for oil offers a wonderfully fresh and flavorful product. Many home cooks and gardeners are discovering the satisfaction of turning their own olives into liquid gold, avoiding the preservatives and processing of store-bought oils. We found that the simpler methods are surprisingly effective.
- Collect ripe olives.
- Wash them thoroughly.
- Crush the olives into a paste.
- Separate the oil from the paste.
- Store your fresh oil properly.
Ready to transform those olives? Let’s walk through how you can press your own delicious olive oil right at home.
Creating Your Own Olive Oil: A Home Guide
Making your own olive oil at home is a wonderfully rewarding process. You’ll end up with a pure, flavorful oil. We found that the methods range from simple to slightly more involved. The main goal is to get the oil out of the olives. Let’s break down the steps for you.
Preparing Your Olives for Pressing
Before you can even think about pressing, your olives need some attention. This part is crucial for a clean, great-tasting oil. Think of it like preparing ingredients for a gourmet meal – you wouldn’t skip the washing!
When to Harvest Your Olives
Timing is everything when it comes to olives. You want them to be ripe but not overripe. Look for olives that have begun to change color from green to a purplish-black. This is when their oil content is typically at its peak (University of California Agriculture and Natural Resources). If you wait too long, the oil quality can decrease.
Washing and Cleaning Your Harvest
Once you’ve collected your olives, the next step is a thorough wash. You want to remove any dirt, leaves, or debris. Simply rinse them under cool, running water. You can even gently rub them between your hands. Some people like to use a colander for this. This cleaning step prevents any unwanted flavors from getting into your precious oil.
Crushing Olives: The First Big Step
This is where the magic starts to happen. You need to break down the olives to release their oils. Imagine squeezing a ripe grape – the juice comes out. With olives, it’s similar, but we’re aiming for a paste.
Understanding the Olive Paste
When you crush olives, you’re not just getting oil. You’re creating a mixture of oil, water, and solid pulp. This is normal! The goal of crushing is to break the cell walls within the olive fruit. This releases the oil that’s stored inside. Many home cooks use simple tools for this stage.
Methods for Crushing Olives
Several tools can help you crush your olives. You don’t need fancy industrial equipment. Research and found that many people use kitchen appliances. A food processor can work, but be careful not to over-process into a liquid. A mortar and pestle is a more traditional, albeit time-consuming, method. For larger batches, a potato masher can also be effective. Whatever you use, the aim is a thick, pulpy paste.
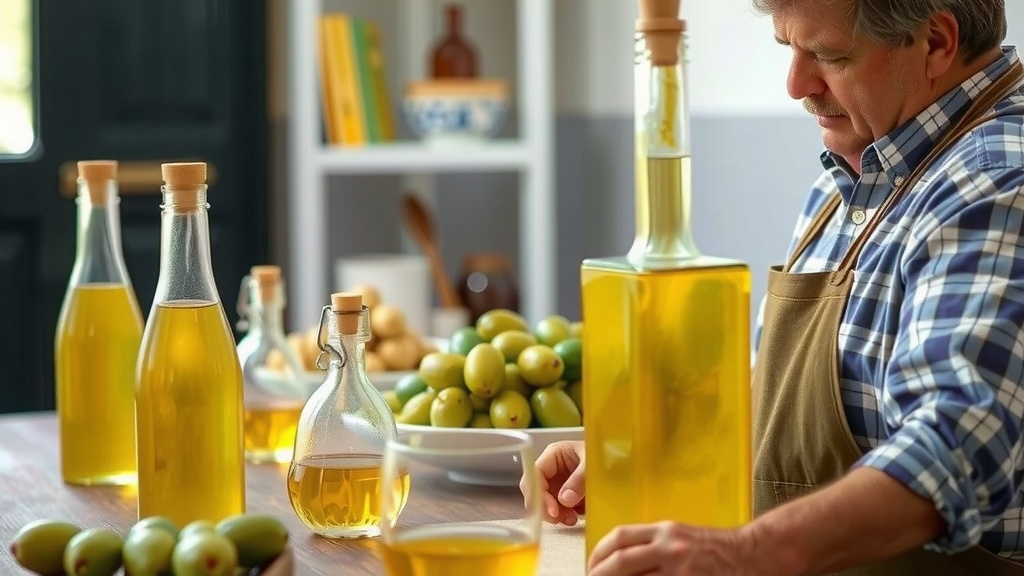
Separating the Olive Oil
This is the most critical part of the entire process. You’ve crushed your olives, and now you need to get just the oil out. This involves separating the oil from the water and the solid bits of olive.
The Traditional Method: Pressing and Straining
This is how it was done for centuries. You’ll need something to press your olive paste. Historically, this involved heavy stones or specialized presses. For a home setup, you can use sturdy kitchen tools. After crushing, spread the paste onto layers of clean, porous cloth, like cheesecloth. Stack these layers and apply pressure.
Using Cloths and Weights
Place your olive paste between layers of cheesecloth or similar fine-mesh fabric. You can then place these layers into a sturdy container or press. Apply weight from above. You’ll see liquid begin to drip out. This liquid will be a mix of oil and water. Many sources suggest this is the most accessible method for home olive oil makers.
Letting the Oil Settle
Once you’ve collected the liquid from pressing, you need to let it settle. Pour the liquid into a shallow bowl or container. The oil, being lighter, will float to the top. The water and solid sediment will sink to the bottom. Allow this to sit undisturbed for at least 24 hours, or even longer if needed. Patience is key here.
Using a Kitchen Aid Attachment (for some models)
If you have a KitchenAid mixer, there are specialized attachments designed for pressing olives. These can automate much of the crushing and pressing process. You feed the olives into the attachment, and it grinds them into a paste. Then, it uses a screw mechanism to press out the oil and water. This is a more modern approach for those who produce larger quantities.
Home Olive Oil Presses
For those truly dedicated to home olive oil production, small-scale electric or manual olive oil presses are available. These machines are designed to efficiently crush the olives and separate the oil. They often incorporate a centrifuge or a hydraulic system. While an investment, they can provide a more consistent and higher yield of oil. Many reviews suggest these offer a significant upgrade in efficiency and oil quality.
| Method | Effort Level | Yield | Best For |
|---|---|---|---|
| Manual Crushing & Pressing | High | Low to Medium | Small batches, traditionalists |
| KitchenAid Attachment | Medium | Medium | Moderate home use |
| Dedicated Home Press | Low to Medium | Medium to High | Larger home harvests, consistent quality |
Separating Oil from Water
After settling, you’ll notice a clear layer of oil on top. Carefully skim this oil off the top. A spoon or a baster can work well. You want to avoid scooping up any of the water or sediment. Some people even use a separator funnel for a cleaner separation. We found that a delicate hand goes a long way here.
Storing Your Freshly Pressed Olive Oil
You’ve done it! You have your homemade olive oil. Now, you need to store it properly to keep it fresh and flavorful. Good storage preserves the nutrients and taste.
Choosing the Right Container
Olive oil is sensitive to light and air. These factors can cause it to go rancid. Therefore, it’s best to store your oil in dark glass bottles. If you don’t have dark bottles, store any container in a dark place. Ensure the container has an airtight lid. We found that a tightly sealed bottle makes a big difference.
Finding the Ideal Storage Location
The best place to keep your olive oil is in a cool, dark pantry or cupboard. Avoid storing it near heat sources like your stove or oven. High temperatures can degrade the oil’s quality. Think of it like storing fine wine – cool and dark is the mantra. Many experts recommend a temperature around 60-70°F (Mayo Clinic).
How Long Does It Last?
Homemade olive oil is at its best when used fresh. Because it’s not commercially processed and lacks preservatives, it typically has a shorter shelf life. We found that using it within 6-12 months is ideal. Always trust your senses; if it smells or tastes off, it’s time to discard it.
You’ve now got all the steps to create your own beautiful, homemade olive oil. It’s a process that connects you to your food in a unique way. Enjoy the fruits of your labor!
Conclusion
You’ve now learned the essential steps to press your own olive oil at home. From selecting the perfect ripe olives to the final, careful storage, the process is rewarding. Whether you choose a simple manual method or a more automated press, the result is a fresh, flavorful oil you can be proud of. Enjoy the unparalleled taste and satisfaction of using your very own liquid gold in your cooking. Your kitchen adventure with olive oil is just beginning!
Frequently Asked Questions
How many olives do I need to make a decent amount of oil?
The yield varies greatly depending on the olive variety and ripeness. Generally, it takes a significant amount of olives, often 10 to 15 pounds, to produce just one liter of oil. For your first attempt, starting with a smaller batch from your own trees or a local source is a good idea.
Can I use any type of olive for pressing?
While you can press most olive varieties, some are better suited for oil production than others. Olives specifically grown for oil, often with a higher oil content, will give you a better yield. It’s still possible to make oil from table olives, but the quantity might be less.
What’s the best way to store olive oil once it’s pressed?
For the longest shelf life and best flavor, store your freshly pressed olive oil in dark glass bottles. Always ensure the bottles have an airtight seal to prevent oxidation. Keep them in a cool, dark place, like a pantry, away from heat and light.
My homemade olive oil has sediment at the bottom. Is that normal?
Yes, some sediment is normal, especially with simpler pressing methods. This can include tiny olive solids and water. Carefully decant or skim the oil off the top after it has settled for at least 24 hours. Filtering through cheesecloth again can help reduce sediment.
How do I know if my homemade olive oil has gone bad?
Your homemade olive oil is likely rancid if it develops an unpleasant, crayon-like smell or a bitter, stale taste. Unlike store-bought oils with preservatives, homemade oil has a shorter shelf life. Trust your senses; if it smells or tastes off, it’s best to discard it.

![7 Best Expensive Olive Oil [2026]](https://bestpureessentialoils.com/wp-content/uploads/2026/07/7-best-expensive-olive-oil-2026-featured-768x432.jpg)
![7 Best Drinking Extra Virgin Olive Oil [2026]](https://bestpureessentialoils.com/wp-content/uploads/2026/06/7-best-drinking-extra-virgin-olive-oil-2026-featured-768x432.jpg)