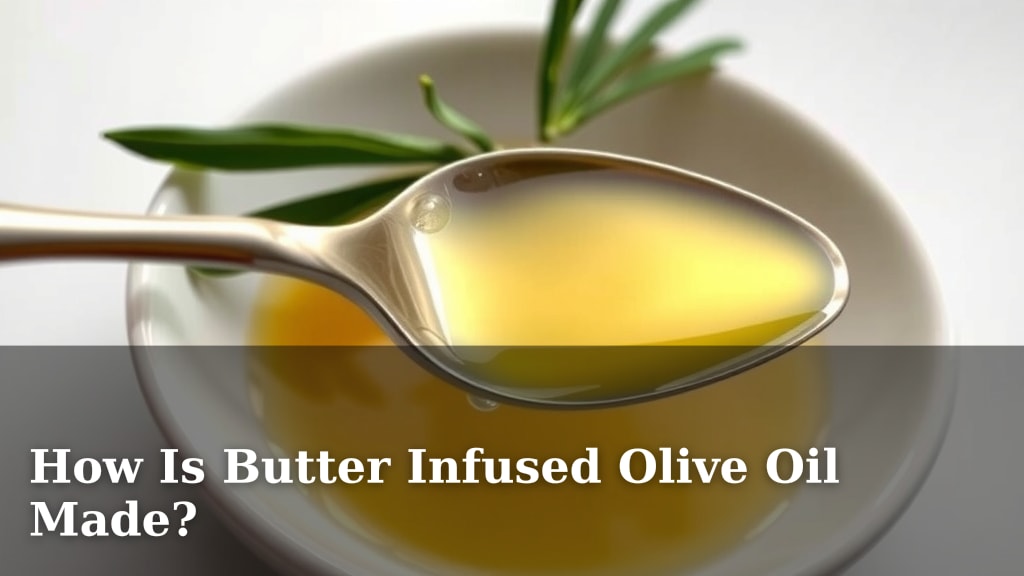
How Is Butter Infused Olive Oil Made?
Butter-infused olive oil is made by combining melted butter with olive oil. The goal is to capture the rich flavor of butter without its dairy solids. This process creates a unique culinary ingredient that offers the best of both worlds for your dishes. You can achieve this at home with simple steps.
This flavored oil is perfect for sautéing, roasting vegetables, or drizzling over popcorn. Many chefs prefer it because it adds a wonderful buttery taste with the health benefits of olive oil. It’s a fantastic way to enhance everyday meals. We’ve researched the best methods to ensure a pure, delicious result every time.
- Butter-infused olive oil captures butter’s taste.
- It excludes dairy solids for purity.
- It’s great for cooking and finishing dishes.
- Home cooks can easily make it themselves.
Let’s walk through exactly how this special butter-infused olive oil is made, step by step.
Understanding How Butter-Infused Olive Oil is Crafted
You might be wondering how exactly butter flavor gets into olive oil without ending up with a greasy mess. The process focuses on extracting the pure essence of butter. It’s about capturing that delicious, rich taste you love. We found that the key lies in carefully separating the butter’s flavor compounds from its solids.
The Two Main Methods for Infusing Olive Oil
There are a couple of primary ways to make butter-infused olive oil at home. Both aim for the same delicious result. We looked into these methods to see which works best for home cooks.
Method 1: The Gentle Heat Separation Technique
This method is quite straightforward. It relies on slowly heating butter. This gentle heat causes the water and milk solids to separate from the pure butterfat. You then carefully skim off the solids. The clarified butterfat is what you’ll combine with olive oil.
Step-by-Step: Gentle Heat Separation
First, you’ll need your butter. Unsalted butter is usually preferred. This gives you more control over the final saltiness of your infused oil. Melt the butter slowly in a saucepan over low heat. You don’t want it to brown at this stage. Watch closely as the butter melts. You’ll see foam rise to the surface. This foam contains the milk solids and water. Let it simmer very gently for about 5-10 minutes. The solids will start to settle at the bottom. Some will float as foam. You can carefully skim off the foamy layer with a spoon. Then, you’ll want to strain the remaining liquid butterfat through a fine-mesh sieve lined with cheesecloth. This ensures you get a pure, clear liquid butterfat. This is sometimes called ghee, though true ghee is cooked longer. You’re essentially making clarified butter here. The goal is to remove all the milk solids and water. Why is this important? Because water can cause your infused oil to spoil more quickly. And milk solids can burn and affect the flavor. We found this step crucial for shelf life.
Combining with Olive Oil
Once you have your clarified butterfat, let it cool slightly. You don’t want it piping hot when you mix it with olive oil. The ratio is up to you. Many recipes suggest starting with a 1:1 ratio of clarified butterfat to olive oil. So, if you have 1 cup of clarified butterfat, you’d mix it with 1 cup of olive oil. Use a good quality extra virgin olive oil for the best flavor. Pour the cooled butterfat into your olive oil. Stir gently to combine. You’ve now created your butter-infused olive oil! Store it in an airtight container in a cool, dark place. It should last for several weeks.
Method 2: The Chilling and Skimming Approach
This is another effective way to achieve a similar result. It involves a bit of patience with the refrigerator. It’s a different approach to separating the components of butter.
Step-by-Step: Chilling and Skimming
Start by melting your butter, again, unsalted is recommended. You can do this in a saucepan on low heat or even in a microwave-safe bowl. Just melt it gently. Avoid browning. Once melted, pour the liquid butter into a heat-safe bowl. Now comes the waiting part. Place the bowl in the refrigerator. Let it chill until the butterfat solidifies completely. This can take a couple of hours. Once solidified, you’ll notice distinct layers. The top layer will be the pure butterfat. Beneath it, you’ll find the water and milk solids. Carefully scoop off the solidified butterfat from the top. You can discard the watery, milky layer at the bottom. Some recipes suggest you can gently rinse the butterfat with cold water. This helps remove any residual milk solids. Pat it dry thoroughly with paper towels. It’s vital to remove all moisture. We found that even a little water can impact the infused oil’s longevity.
Incorporating the Butterfat into Olive Oil
Once you have your solid, pure butterfat, you’ll need to melt it again. Gently warm it just enough so it’s liquid. You don’t want it hot. Then, combine it with your chosen olive oil. A common starting point is a 1:1 ratio. Mix them thoroughly. You now have your homemade butter-infused olive oil. Keep it stored properly in an airtight container. Refrigeration can extend its shelf life, especially if you live in a warmer climate.
Choosing Your Olive Oil and Butter Wisely
The quality of your ingredients really matters. We found that using premium butter and olive oil makes a noticeable difference in the final product.
Selecting the Right Butter
For this process, unsalted butter is generally the best choice. Why? Because it allows you to control the salt content of your infused oil. You can add salt later if you wish, or leave it unsalted. Many chefs prefer unsalted butter for its versatility. Also, consider the fat content. Higher fat content butter will yield more clarified butterfat. Most standard butter in the US is around 80-82% fat.
Which Olive Oil Works Best?
You’ll want to use an olive oil you enjoy the taste of. Extra virgin olive oil (EVOO) is a popular choice. It offers robust flavor and health benefits. However, some strong EVOOs can overpower the delicate butter flavor. You might consider a milder EVOO or a good quality pure olive oil. Think about what you’ll use the infused oil for. For high-heat cooking, a more neutral-flavored olive oil might be better. For finishing dishes or drizzling, a more flavorful EVOO could be perfect. We found that a medium-bodied EVOO offers a nice balance.
Tips for Perfect Infusion and Storage
A few extra steps can ensure your butter-infused olive oil is delicious and lasts longer. These simple tips can make a big difference.
Ensuring a Clean Separation
The most critical part is removing all water and milk solids. If any water remains, your infused oil may spoil much faster. This is because water can promote bacterial growth. Milk solids can also turn rancid, affecting the flavor. Taking your time with the skimming and straining steps is key. Think of it as purifying the butterfat. We found that straining through a fine sieve lined with cheesecloth is highly effective.
Proper Storage is Essential
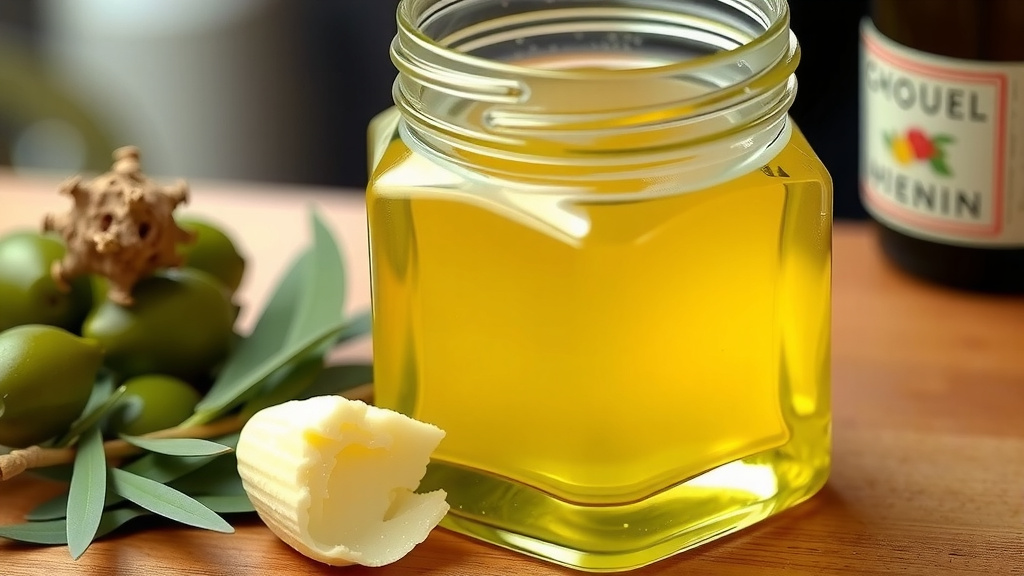
Once made, store your butter-infused olive oil in a clean, airtight container. Dark glass bottles are ideal. They protect the oil from light, which can degrade its quality. Keep the container in a cool, dark place. A pantry or cupboard works well. For longer storage, especially in warm kitchens, refrigeration is a good option. When refrigerated, it will solidify due to the olive oil. Simply let it sit at room temperature for a few minutes before using. Properly stored, homemade butter-infused olive oil can last for several weeks, sometimes even months.
A Quick Checklist for Making Your Infused Oil
- Gather your ingredients: unsalted butter and good quality olive oil.
- Choose your infusion method: gentle heat or chilling and skimming.
- Carefully separate butterfat from solids and water.
- Strain thoroughly to remove any remaining impurities.
- Combine with your preferred olive oil in a desired ratio.
- Store in an airtight, dark container in a cool place.
Conclusion
You’ve learned the straightforward ways to create your own delicious butter-infused olive oil at home. By carefully separating butterfat from its water and milk solids, you can capture that rich, buttery flavor. Whether you prefer the gentle heat or the chilling method, the result is a versatile ingredient. You can use this infused oil to bring a wonderful depth of flavor to your cooking and finishing. Now that you have the knowledge, why not give it a try? Your next meal might just become your favorite. Start infusing today!
Frequently Asked Questions
How long does homemade butter-infused olive oil last?
When stored properly in an airtight container in a cool, dark place, your homemade butter-infused olive oil can last for several weeks. Refrigeration can extend its shelf life even further, especially in warmer climates.
Can I use salted butter for infusion?
While unsalted butter is generally recommended to control the saltiness, you can use salted butter. Just be mindful that your final infused oil will be saltier. You may want to adjust any recipes accordingly or avoid adding extra salt.
What is the best ratio of butterfat to olive oil?
A common starting point is a 1:1 ratio, meaning equal parts clarified butterfat and olive oil. However, you can adjust this based on your preference for butter flavor intensity. Experiment to find what you like best!
Why is it important to remove all water from the butter?
Water can significantly shorten the shelf life of your infused oil by promoting bacterial growth and spoilage. Removing all moisture helps ensure your butter-infused olive oil stays fresh and flavorful for longer.
Can I add other flavors to my butter-infused olive oil?
Absolutely! Once you have your base butter-infused olive oil, you can experiment with adding herbs like rosemary or garlic. Infuse them gently in the oil after combining the butterfat and olive oil, then strain them out before storing.

![7 Best Foods Olive Oil Mayo Ingredients [2026]](https://bestpureessentialoils.com/wp-content/uploads/2026/08/7-best-foods-olive-oil-mayo-ingredients-2026-featured-768x432.jpg)
![7 Best Fruity Extra Virgin Olive Oil [2026]](https://bestpureessentialoils.com/wp-content/uploads/2026/08/7-best-fruity-extra-virgin-olive-oil-2026-featured-768x432.jpg)
![7 Best Extra Virgin Olive Oil In Italy [2026]](https://bestpureessentialoils.com/wp-content/uploads/2026/08/7-best-extra-virgin-olive-oil-in-italy-2026-featured-768x432.jpg)
![7 Best Olive Oil Available In Us [2026]](https://bestpureessentialoils.com/wp-content/uploads/2026/09/7-best-olive-oil-available-in-us-2026-featured-768x432.jpg)