
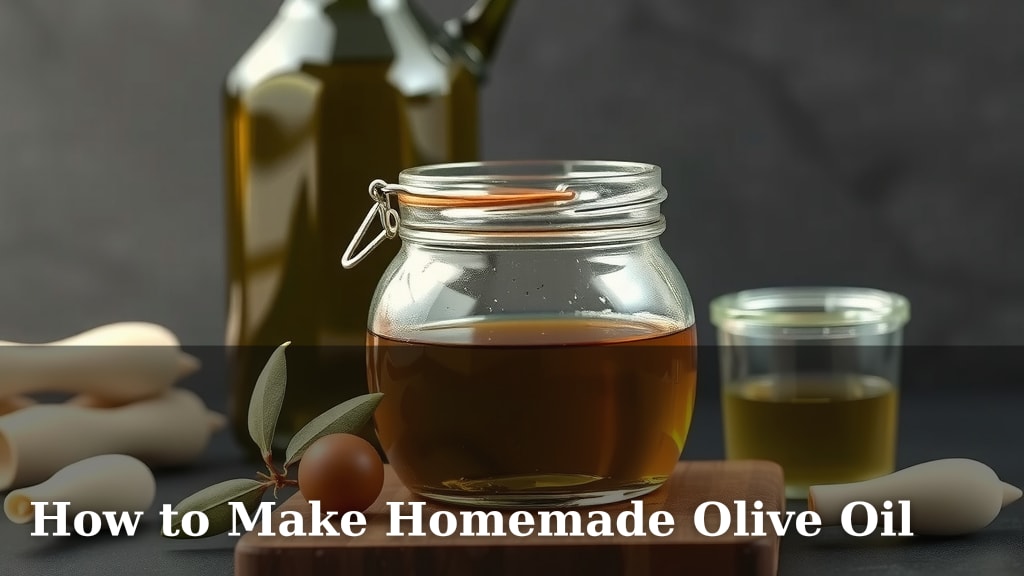
How to Make Homemade Olive Oil
Yes, you can absolutely make your own olive oil at home! It’s a surprisingly achievable process, even with a small harvest from your own olive trees. You’ll need fresh, ripe olives and a way to press them to release their delicious, liquid gold.
Making olive oil from scratch can be a rewarding experience. While large-scale production uses industrial machinery, you can adapt methods for a home setup. We’ve researched various techniques to make this accessible for home cooks and gardeners alike, bringing the taste of fresh, homemade goodness right to your kitchen.
- Harvest ripe olives.
- Wash and prepare your olives.
- Press the olives to extract the oil.
- Separate the oil from water and solids.
- Store your fresh olive oil properly.
Ready to get your hands on some fresh, homemade olive oil? Let’s walk through the steps to turn your olives into pure flavor.
Creating Your Own Olive Oil: A Step-by-Step Guide
Making your own olive oil at home is a journey that connects you directly to nature’s bounty. You might be wondering if it’s really possible without a commercial mill. The short answer is yes! With the right approach, you can transform your olives into pure, flavorful oil. We’ve researched various methods to make this accessible, even for smaller harvests.
Choosing and Harvesting Your Olives
The quality of your homemade olive oil starts with the olives themselves. For the best flavor and highest oil yield, it’s important to pick olives at the right stage of ripeness. This is often referred to as the ‘veraison’ stage.
When Are Olives Ripe for Oil?
Olives change color as they mature, typically from green to purple or black. For olive oil, the ideal time is usually when the olives are beginning to change color but are not fully black. This is when the oil content is highest, and the flavor is often described as fruity and peppery. Harvesting too early means less oil. Picking too late can lead to a more bitter taste and a lower yield (NCBI).
How to Harvest Olives Gently
Handle your olives with care to avoid bruising. Bruised olives can start to ferment, which negatively affects the oil quality. Many home growers use nets placed under the trees. You can then gently shake the branches, or use a rake designed for olives, to dislodge the fruit onto the nets.
- Use nets to catch falling olives.
- Gently shake or comb branches.
- Collect olives promptly from the nets.
Avoid using harsh tools or methods that damage the fruit or the tree. The goal is to get clean, whole olives.
Preparing Your Olives for Extraction
Once you’ve gathered your olives, the next step is to clean and prepare them. This process removes any debris and helps ensure a clean-tasting oil.
Washing Away the Dirt
First, you’ll need to wash your olives. Remove any leaves, twigs, or other plant matter. Submerge the olives in clean water and gently agitate them. You might need to do this a couple of times. Drain them well after washing.
Removing Stems and Leaves
It’s crucial to remove any remaining stems or leaves. These can introduce bitter flavors into your oil. You can pick them off by hand. For larger batches, some find a gentle tumbling method helpful.
Crushing the Olives: The First Press
This is where the magic begins to happen. Crushing breaks down the olive cells, allowing the oil to be released. Traditionally, this was done with large stone mills. For home production, you can adapt this.
Research suggests that a clean, efficient crush is vital. You want to break the olives down into a paste. This paste is called ‘malaxation’ in commercial terms. Avoid over-crushing, which can generate heat and degrade the oil.
Home Methods for Crushing
You have a few options here. A food processor can work for small batches, but be careful not to overheat it. Some specialized home olive oil presses are also available. These are designed for this specific task and can be more efficient.
Whatever method you choose, aim for a consistency similar to a coarse paste. You’re not trying to liquefy the olives, just break them down.
Extracting the Oil: Separating Liquid Gold
Now comes the part where you actually get the oil out. This typically involves separating the oil from the water and solid pulp released during crushing. This step requires patience.
The Malaxation Process
After crushing, the olive paste is often gently mixed or kneaded. This process, called malaxation, helps the tiny oil droplets within the olive cells to coalesce, or come together. This makes them easier to extract. It’s usually done at a controlled, low temperature. You want the paste to become smooth and homogeneous. This can take anywhere from 20 to 60 minutes.
Pressing the Paste
Once malaxated, the paste is ready to be pressed. Here’s where you’ll separate the oil. For small amounts, you might use a sturdy cheesecloth or a fine-mesh sieve lined with a food-grade filter.
Place the olive paste into the cloth or filter. Then, you’ll need to apply pressure. You can do this by squeezing the cloth by hand, or by using a weight. Another option is to use a mechanical press, like a fruit press, to apply more force.
Using a Home Olive Oil Extractor
For those who harvest olives regularly, investing in a small, home-scale olive oil extractor can significantly simplify this process. These machines are designed to handle the crushing and pressing stages efficiently. They often use centrifugal force or mechanical pressing to separate the oil.
Separating Oil from Water (Decanting)
After pressing, you’ll have a liquid mixture. This liquid contains olive oil, water, and tiny olive solids. You need to let these separate. Pour the liquid into a clean container. Store it in a cool, dark place.
Over time, the oil will naturally rise to the top. The water and heavier solids will settle at the bottom. This settling process can take anywhere from a few days to a couple of weeks. You’ll see distinct layers forming. Skim the oil off the top carefully. You can also use a siphon to draw the oil off, leaving the sediment behind. Many experts recommend letting the oil settle for at least 24-48 hours before decanting.
Why Decanting is Important
Leaving the water and solids in the oil will cause it to degrade faster. Water can lead to mold, and solids can cause rancidity. A clean separation is key to preserving your homemade olive oil’s freshness and flavor (Cleveland Clinic).
Storing Your Homemade Olive Oil
You’ve done it! You’ve made your own olive oil. Now, let’s keep it tasting fantastic. Proper storage is vital to maintain its quality and extend its shelf life.
Choosing the Right Container
Olive oil is sensitive to light, heat, and air. Store your oil in dark glass bottles or stainless steel containers. Avoid plastic containers, as oil can degrade the plastic over time, and chemicals could leach into the oil. Ensure the container has a tight-fitting lid to minimize air exposure.
Finding the Perfect Spot
The best place to store your olive oil is a cool, dark place. A pantry or a cupboard away from direct sunlight is ideal. Avoid storing it near the stove or oven, as heat will quickly spoil the oil.
How Long Does It Last?
Freshly made olive oil is best used within a year. While it might not “go bad” in a dangerous way, its flavor and health benefits will diminish over time. You’ll notice a change in taste when it’s no longer at its peak.
Here’s a quick checklist for your storage:
- Use dark glass or stainless steel containers.
- Seal the container tightly to keep air out.
- Store in a cool, dark place.
- Keep away from heat and direct light.
- Label your bottles with the date you made it.
- Use it within one year for best flavor.
Enjoy the fruits of your labor! The taste of freshly made, homemade olive oil is truly unparalleled.
Conclusion
You’ve learned that making homemade olive oil is a wonderfully achievable project. From carefully harvesting your olives at the right ripeness to gently crushing and extracting the oil, you’re now equipped to produce your own liquid gold. Remember, the key to great homemade oil is attention to detail at each step, especially in preparation and proper storage. Take this knowledge and transform your next olive harvest into a culinary delight. Your first batch of fresh olive oil awaits!
Frequently Asked Questions
How many olives do I need to make olive oil?
The amount of olives needed depends on their oil content and ripeness. Generally, it takes a significant amount, often several pounds of olives, to produce just one cup of olive oil. You’ll get more oil from riper olives.
Can I use a regular blender or food processor to crush olives?
For very small batches, a food processor can work, but you must be careful not to overheat the olives. Overheating can damage the oil’s flavor and quality. It’s best to pulse and process in short bursts.
What if my homemade olive oil has sediment at the bottom?
Sediment is normal and consists of tiny olive solids and water. You’ll need to let the oil settle and then decant or siphon off the clear oil, leaving the sediment behind. Repeating this process ensures a cleaner oil.
Is homemade olive oil safe to eat if it looks cloudy?
Cloudy olive oil typically means there’s still water or fine solids present. While it’s usually safe to consume, it won’t last as long and may have a different flavor. Properly settling and decanting is important for storage.
How can I tell if my homemade olive oil has gone bad?
Your homemade olive oil will lose its fresh, fruity aroma and flavor over time. It might develop a rancid or “off” smell, similar to crayons or old nuts. If it smells or tastes unpleasant, it’s best to discard it.

![7 Best Extra Virgin Olive Oil For Skin And Hair [2026]](https://bestpureessentialoils.com/wp-content/uploads/2026/08/7-best-extra-virgin-olive-oil-for-skin-and-hair-2026-featured-768x432.jpg)
![7 Best Olive Oil At Costco 2025 [2026]](https://bestpureessentialoils.com/wp-content/uploads/2026/09/7-best-olive-oil-at-costco-2025-2026-featured-768x432.jpg)