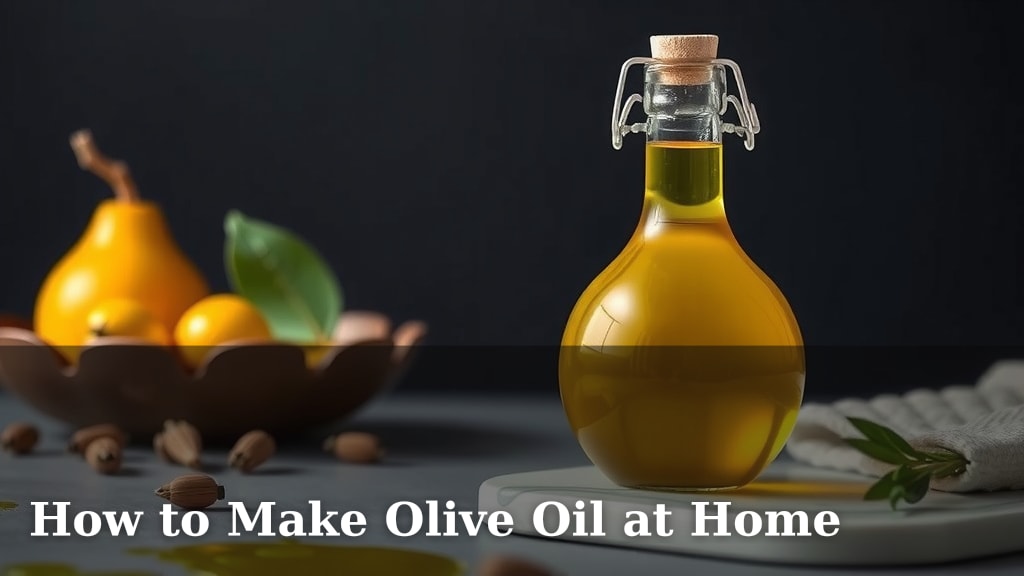
How to Make Olive Oil at Home
Yes, you absolutely can make your own olive oil at home, and it’s more achievable than you might think! The key is to start with high-quality, ripe olives and use a method that crushes and separates the oil from the pulp and pits. While it won’t be exactly like commercial production, you can create a delicious, fresh oil for your kitchen.
Making your own olive oil offers a unique connection to your food. You get to control the entire process, ensuring a pure product free from additives. Many people find the process surprisingly rewarding, creating a wonderfully aromatic and flavorful oil perfect for finishing dishes or salad dressings.
- Start with ripe, good-quality olives.
- Crush them thoroughly to release the oil.
- Separate the oil from the water and solids.
- Store your fresh oil in a dark, cool place.
Ready to give it a try? Let’s walk through the simple steps to make your own fresh olive oil at home.
“`htmlMaking Your Own Olive Oil: A Step-by-Step Guide
You’re likely wondering if making olive oil at home is truly feasible. The good news is, it is! With the right approach and some patience, you can enjoy your very own homemade olive oil. It’s a journey that connects you directly to your food. You’ll transform simple olives into a pure, flavorful oil. This guide will walk you through the process.
Choosing and Preparing Your Olives
The quality of your final oil starts with the olives themselves. For the best results, choose ripe, fresh olives. Olives picked too early will yield less oil and have a more bitter taste. Overripe olives can also affect the flavor profile negatively.
When Are Olives Ripe for Oil Production?
Ripeness is key. Look for olives that are changing color. They might be transitioning from green to purple or even black. This color change indicates the oil content is at its peak. You can also gently squeeze an olive; it should yield slightly. Many growers suggest picking olives when they have a uniform color, like a deep purple or black, as these tend to have the highest oil content (University of California Agriculture and Natural Resources).
Harvesting Your Olives
When it’s time to harvest, be gentle. You don’t want to damage the fruit. You can use your hands to pick them from the branches. Another method is to spread a large sheet or tarp beneath the tree. Then, gently shake the branches. This allows the ripe olives to fall onto the sheet. Avoid using hard rakes, which can bruise the olives. Bruised olives can start to ferment, affecting the taste of your oil.
Washing and Cleaning the Olives
Once you have your olives, wash them thoroughly. Remove any leaves, twigs, or dirt. You can rinse them under cool running water. Make sure they are completely clean before moving to the next step. This simple step helps ensure a pure, clean-tasting oil.
Crushing the Olives: The First Transformation
This is where the magic begins. The goal is to break down the olive pulp and skin to release the oil. You need to create a paste.
Traditional Methods and Modern Adaptations
Historically, olives were crushed using heavy stone mills. These would grind the olives into a thick paste. For home production, you can achieve a similar result with a blender or food processor. You want to pulse the olives until they form a coarse paste. Avoid over-processing, which can generate too much heat. Heat can degrade the oil’s quality.
Using a Blender or Food Processor
Place a batch of your clean olives into a sturdy blender or food processor. Pulse them in short bursts. You’re looking for a consistency similar to chunky applesauce. You should be able to see the oil starting to separate from the solids. This usually takes just a minute or two of pulsing. Work in small batches to avoid overheating your appliance.
Separating the Oil: The Patience Game
Now comes the part that requires a bit of patience. You need to separate the oil from the water and solid pulp. This is often the most challenging step for home producers.
Warm Water Bath and Straining
One common method involves gently warming the olive paste. You can do this by placing the paste in a heat-safe bowl set over a pot of simmering water. This is called a double boiler. Stir the paste gently for about 20-30 minutes. The warmth helps the oil to become more fluid and easier to separate. Be careful not to cook the paste; you just want to warm it. After warming, you’ll strain the paste.
You’ll need fine-mesh strainers or cheesecloth for this. Line a colander with cheesecloth and place it over a clean bowl. Spoon the warmed paste into the cheesecloth. Let it sit for a while. You’ll see oil begin to drip into the bowl below. You can gently press the cheesecloth to encourage more oil to come out. It’s like squeezing juice from a fruit, but with oil!
The Settling Process
The liquid that collects will be a mixture of oil and water. Olive oil is lighter than water, so it will float to the top. You need to let this mixture sit undisturbed. Place the bowl in a cool place for several hours, or even overnight. You will clearly see a layer of oil on top of the water. Carefully skim the oil off the top using a spoon or a baster. Repeat this skimming process until you have collected pure oil.
Storing Your Homemade Olive Oil
Proper storage is crucial to maintain the freshness and flavor of your hard-earned oil. Exposure to light, air, and heat can make it go rancid quickly.
Best Practices for Preservation
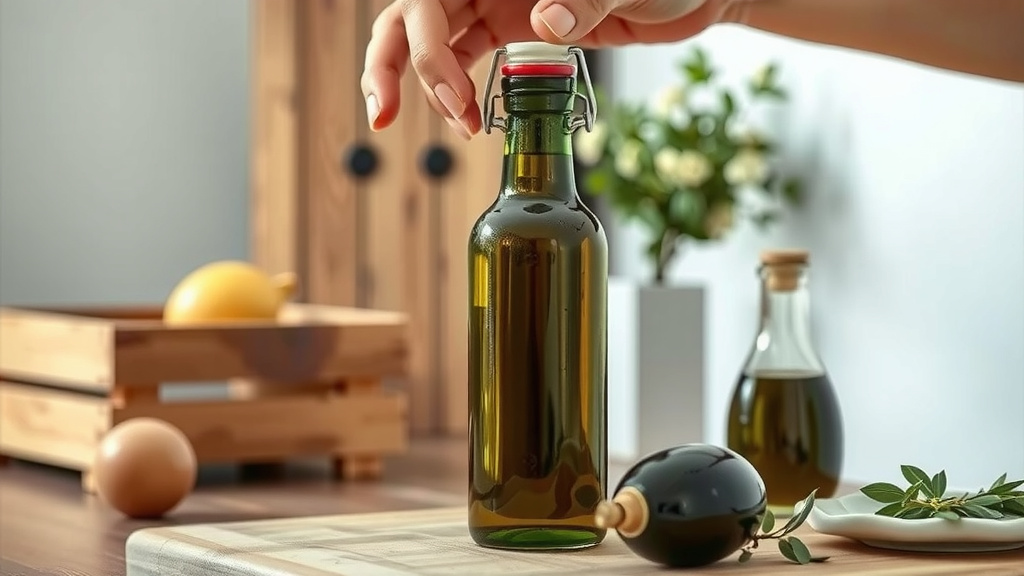
Pour your freshly skimmed olive oil into dark glass bottles. Amber or dark green bottles are ideal. These help to block out light. Make sure the bottles have airtight caps. Store the bottles in a cool, dark place. A pantry or cupboard works well. Avoid storing it near the stove or in direct sunlight. Properly stored homemade olive oil can last for several months.
Tips for Using Your Fresh Oil
Your homemade olive oil will have a distinct, fresh flavor. It’s perfect for finishing dishes. Drizzle it over salads, pasta, or grilled vegetables. It also makes a wonderful dipping oil for crusty bread. Remember, it’s best used fresh. Enjoy the fruits of your labor!
Here’s a quick checklist to help you along:
- Gather ripe, healthy olives.
- Wash and clean your harvest thoroughly.
- Crush olives into a coarse paste.
- Gently warm the paste to aid oil release.
- Strain and let the oil settle.
- Store your oil in dark, airtight bottles.
Conclusion
You’ve learned that making your own olive oil at home is a rewarding project. By starting with quality olives and following a careful process of crushing, warming, and separating, you can create a fresh, flavorful oil. It’s a hands-on way to connect with your food and enjoy a pure product. Take the first step today by gathering your olives and beginning your homemade oil-making journey. Your kitchen will thank you for it!
Frequently Asked Questions
How many olives do I need to make a decent amount of oil?
The yield varies greatly, but generally, you need a substantial amount of olives. Experts suggest it can take anywhere from 5 to 10 pounds of olives to produce just one liter of olive oil. You’ll likely need a large harvest to get a significant quantity.
Can I use store-bought olives to make oil?
It’s not recommended. Store-bought olives are often cured with salt or lye, which changes their chemical composition and flavor. For the best tasting homemade oil, you need fresh, uncured olives directly from the tree.
What if my homemade olive oil doesn’t separate well?
This often happens if the olives aren’t ripe enough or weren’t crushed thoroughly. Ensuring your olives are at peak ripeness and processing them into a very fine paste are key. Gently warming the paste can also help improve oil separation.
How long does homemade olive oil typically last?
Homemade olive oil, when stored correctly in dark, airtight bottles in a cool place, can last for several months. However, its flavor is best when consumed within the first few months, as it won’t have the preservatives found in commercial oils.
Is it possible to get my homemade olive oil completely clear?
Achieving crystal clear oil like commercial varieties can be difficult at home. You’ll likely end up with a slightly cloudy oil, even after settling and skimming. This is normal for home-produced oil and doesn’t affect its taste or usability.

![7 Best Crete Olive Oil [2026]](https://bestpureessentialoils.com/wp-content/uploads/2026/06/7-best-crete-olive-oil-2026-featured-768x432.jpg)